Cloud Cam Installation

Chatteris Weather used to have a dedicated camera looking at clouds, this was a CCTV camera with a USB converter enabling me to get pictures uploaded, unfortunately the image quality was very poor and eventually when the USB converter died, I replaced the CCTV image with a fixed digital camera taking snapshots which is in use now.

The problem with the fixed camera and my live cam is that they are mounted under the soffit to keep the elements off them and because of this I can’t lift them to point upwards, after a web site user contacted me about the lack of cloud observation, I decided I must get this sorted, especially as the CCTV camera housing was still in places.

My original idea was to get a WiFi enabled IP camera and use the existing CCTV camera power for the new IP camera, and use my wireless network to get the camera images on the computer.

The camera I decided on was £33 off eBay and is a Szsinocam 1080p 2mega pixel with WiFi capability.

ipcloudcam

The camera only took a few days to arrive and comes complete with UK plugged 12v wall wart power supply, fixing bracket, instructions and CD.

I’m using a Windows 7 Operating Systems and my PC has a CD drive, first job was to set it up on the bench and to run the CD for the ‘Search Tool’, once this was installed, I powered up the camera and plugged in an Ethernet lead into my router after first removing a device with a conflicting IP of 192.168.1.100.

Using the ‘Search Tool’, discovery of the camera was done within seconds, from here access into the cameras range of menus is possible, the instructions guide you through the setup process which was fairly straightforward,  the cameras IP and  WiFi enable were the first things I did, refreshing the ‘Search Tool’ now brought up two IP’s one for the Ethernet the other for WiFi.

The image quality is very good, the WiFi is about as good as a chocolate fireguard as it keeps dropping out, and I found it to be totally useless. Plan B now involves running a new Ethernet cable to where the camera is to be mounted, something I didn’t really want to do!

20160528_190012 (Medium)

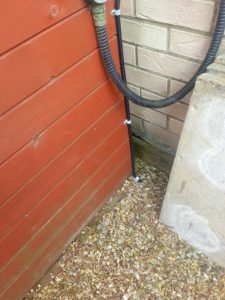
The router is on the other side of the wall to the shed, I ran a Cat5 cable into the shed and then out to the camera using 10mm convoluted tube.

20160528_190032 (Medium)

Camera mounted within the old CCTV enclosure.

20160528_185954 (Medium)

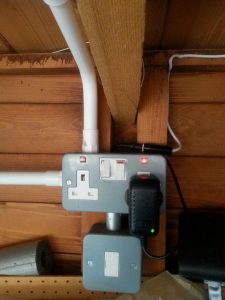
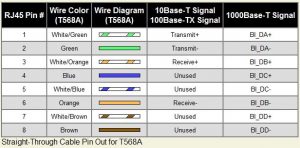
Power for the camera comes from the 12v wall wart plugged in the shed, I used a 2.1mm ‘inline connector’ to plug the output from the power supply to the lead to a junction box, where I have spliced into the Cat 5 cable to allow me to use the unused conductors to double up and take power to the camera.

cat5poe

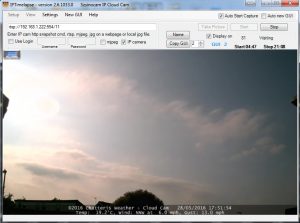
The software I use to get image to my website is iptimelapse, finding the streaming address was a nightmare and took far longer than I thought, it was only after I came across a thread in a CCTV forum that I had success, initially I used VLC Media Player to find the working camera stream, but once I knew it was possible, getting it working on iptimelapse was easy.

The program also adds weather conditions to the image which is a great feature.

iptimelapse

iptimelape takes a snapshot from the camera, in my case every 5 minutes from Sunrise until Sunset, after which time the program goes into ‘idle’ mode until it’s time to start, the timing is automatically configured from my long and lat coordinates.

Rather than have a static image of the last image on Chatteris Weather, I found a script on WX Forum which allows a new image to be displayed when a condition is met, I have used this to put a testcard on the site when no fresh image is being sent.

cloudcam_offline

My web site already had a Clouds page, so I thought the best place for a Cloud Cam was on this page.

Hope you enjoy the images.

Radio Mast Automation: Controller Wiring – Part 2

Continuing on with the radio mast automation, this blog shows how I have wired the controller. (Part 1 is HERE)

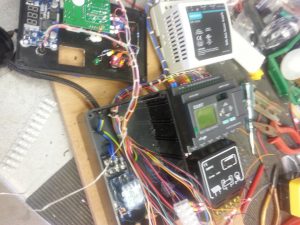
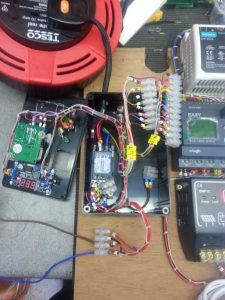
The external enclosure for the automation equipment has a plywood back board which is removable, it is to this I have mounted all the necessary bits of kit, I have loomed all the cables in with waxed lacing cord and given each conductor a unique ident for ease of fault finding.

To allow the back board to fit back into the enclosure I will have to strip everything of the board first, the 24v DC transformer and PLC are mounted on ‘top hat’ rail for ease of removal, the solar charge  limiter and main control unit are held in place with wood screws.

20160522_165331 (Medium)

The PLC controller is powered using 24v DC, I did try it on 12v but the output relays seemed sluggish when activated, the proximity sensors I’m using have a wide operating voltage range (9v – 30v) so these will be fed at 24v, due to the wide voltage tolerance, voltage drop will not be an issue considering the maximum cable run is 7 metres, (I’m using 8 core 7/0.2mm CSA).

The input to the PLC will be a switched high of 24v with the exception of the battery fully charged input (the board for this is affixed to the lid of the enclosure), when a charging voltage of 14.14v is reached, this will switch the battery voltage to the PLC input via a relay to cancel mains powered battery charging (link to blog on voltage relay HERE).

All cables have been marked up to aid fault finding or making additions to the control system should I need it, the image shows cables marked and ready for looming.

20160524_172213 (Medium)

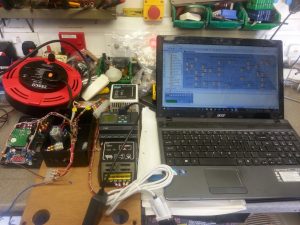
Cables loomed up with waxed lacing cord and powered up ready for bench testing.

20160524_172130 (Medium)

Slight tweak to the PLC program to invert the Hall Effect limit switches, for testing purposes the run on timers were set at 5 seconds, after timing the raising and lowering of the mast with a fully charged battery, the correct timings have now been uploaded.

20160524_172714 (Medium)

Phew!, the lid fits on the controller 🙂 and everything seems to work!

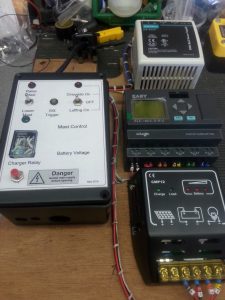
30 May 16 – I decided to use the enclosure which houses my Easy Rotor Control as the place to fit the indicators and remote switches to control the mast from the shack as it had plenty of room.

20160530_165914

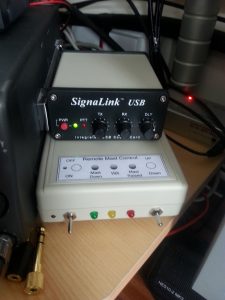
From Left to Right  –  The main On/Off switch is the first switch, in the ON position a small LED to the left of the switch will be lit, turning the switch OFF acts an Emergency Stop to the PLC

The Green LED is for mast fully lowered, the Amber LED is lit when an output from the weather station is active (next picture) and the Red LED is for mast fully raised, the switch on the right is momentary operation, non latching center off and is used to send a positive input to the PLC to either lift or lower the mast if the correct logic is satisfied.

20160530_175157

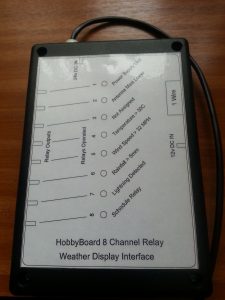
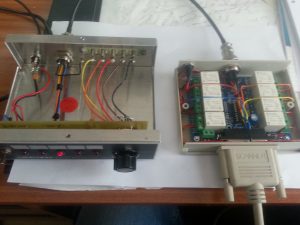
The weather station interface is a HobbyBoard 8 channel relay unit (unfortunately these are no longer available from HobbyBoard), this is linked to Weather Display software to control the output relays when certain pre-configured thresholds are met.

I have wired the internal relays in parallel so if any relay operates it will send a positive voltage to the PLC weather input (WX) which in turn will lower the mast if raised.

I have set the mast to lower should the wind speed exceed 30MPH and if 8 strikes of lightning within 1 minute are detected, these values may well change in future as experience grows.

The next stage is to mount the external enclosure on the wall and strip down the existing control circuit and replace it with the PLC control, this will mean adding new cables to the mast to pick up the additional proximity sensors and a multicore cable to the shack to the control box, the wireless handsets I currently use will then only be used as I’m luffing the mast.

Please see Part 3 HERE.

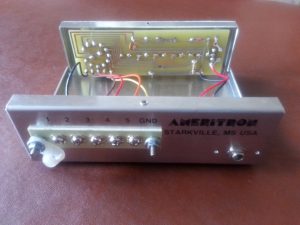
Ameritron RCS-8V interface with Ham Radio Deluxe

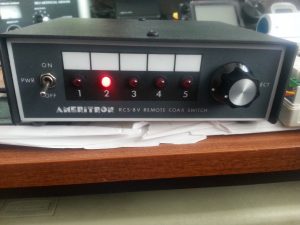
I bought a Ameritron RCS-8V 5 way antenna switcher from Ham Radio Outlet, this uses a rotary switch in the shack to select a remote relay to energize, this allows up to 5 antennas to use a single coax.

20160514_160618

I use Ham Radio Deluxe as my program of choice, this software has a feature to allow automated switched depending on the Band in use via the computers Parallel Port (Auxiliary Switching).

8 relay

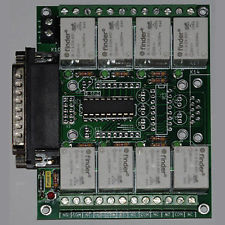
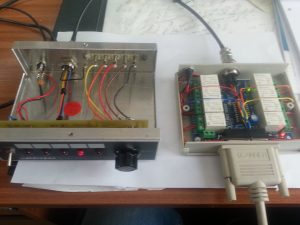
I bought an 8 relay interface off eBay for £18 and mounted it inside an enclosure, the Parallel lead from the PC to the interface was also from eBay and cost £2.

20160416_174101 (Large)

The inside of the RCS-8V is a simple two pole rotary switch, one pole switches 12v to the panel LED, the other pole switches 12v to the output connections for the relay.

20160420_182513 (Large)

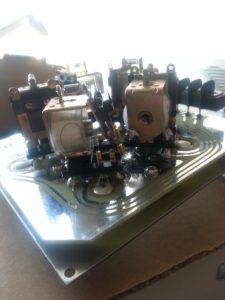
The above picture is of the opened external relay unit, the first thing I noticed was that the relay armature had jumped out of position in transit and was on the wrong side of the contact, this fortunately was easily sorted.

20160417_142116 (Large)

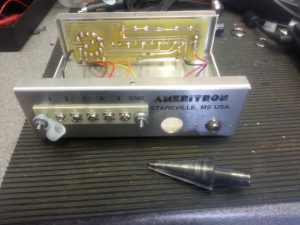
The On/Off switch on the RCS-8V is a single pole double throw, I decided that for normal operation,  when the RCS-8V  was in the ON position, control was only via the rotary switch, with the switch in the OFF position, control of the RCS-8V  will be from the relay interface, power for the interface will also be switched from the RCS-8V.

The connection from the interface to the RCS-8V  is via an 8 pin connector which needs a16mm hole.

20160423_103244 (Large)

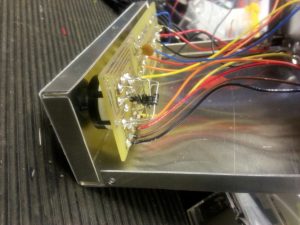
Diodes were soldered across the rear of the rotary switch, this allows independence of switching, so if the rotary switch is left on antenna relay 3 for example, when the front RCS-8V switch is set to OFF, power is applied to the interface and whatever relay switches becomes the master (example below).

20160515_111510

RCS-8V switched ON, no power to relay interface, rotary switch selected antenna 3.

20160515_111519

RCS-8V switched OFF, power to relay interface ON, relay 4 switches antenna 4.

Cambeam 2016 the Cambridge & District amateur Radio Club newsletter has a great article on using an Arduino for automating antenna relay controls and is worth checking out. Article by Bob Cowdery G3UKB.

Mag Loop

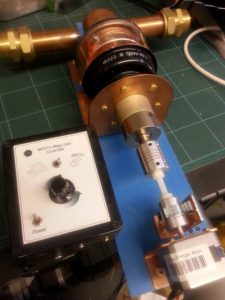
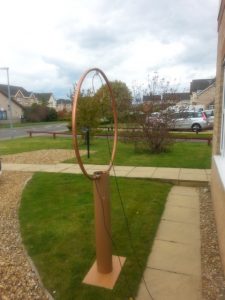
Had a play with my Mag Loop project, the problem I had was that the stepper motor which turned the Vacuum Capacitor introduced a lot of noise into reception, removing the supply from the stepper motor caused the bellows in the capacitor to return to a resting position, knocking the tuning out.

To combat this I have fitted a friction brake which uses a terry clip to the shaft of the motor, this seems to work ok, but a bit more work needs to be done.

20160502_131715 (Small)

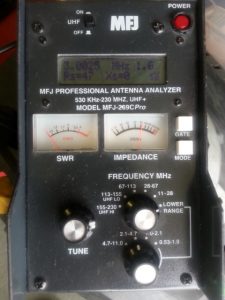
The loop tuned perfectly on 3Mhz, pity it’s out of band, oh well, a job for another day!

20160502_140402 (Small) 20160502_140415 (Small)

Widow Maker Plug Top

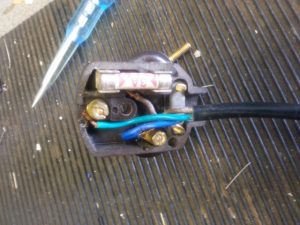
I was given a 13.8v Power Supply Unit at a local radio rally so thought I’d check it out, first job was the plug top, this is what I found;

20160502_111900 (Small)

I rewired the plug and used the optional extra strain relief, this was the before picture.

20160502_112541 (Small) 20160502_112548 (Small)

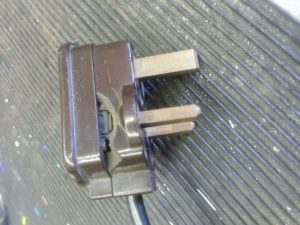
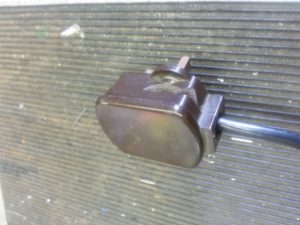
It was only after I put the plug back  and inspected it, that I noticed the condition of the outside of the plug and the lethal exposed conductor.

Once a new plug was fitted the PSU worked fine, just a cautionary tale, always double check everything from a rally.