Chatteris Weather used to have a dedicated camera looking at clouds, this was a CCTV camera with a USB converter enabling me to get pictures uploaded, unfortunately the image quality was very poor and eventually when the USB converter died, I replaced the CCTV image with a fixed digital camera taking snapshots which is in use now.
The problem with the fixed camera and my live cam is that they are mounted under the soffit to keep the elements off them and because of this I can’t lift them to point upwards, after a web site user contacted me about the lack of cloud observation, I decided I must get this sorted, especially as the CCTV camera housing was still in places.
My original idea was to get a WiFi enabled IP camera and use the existing CCTV camera power for the new IP camera, and use my wireless network to get the camera images on the computer.
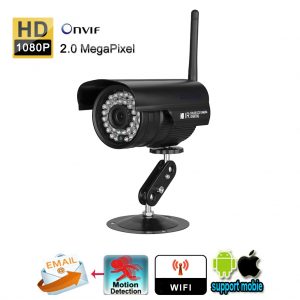
The camera I decided on was £33 off eBay and is a Szsinocam 1080p 2mega pixel with WiFi capability.
The camera only took a few days to arrive and comes complete with UK plugged 12v wall wart power supply, fixing bracket, instructions and CD.
I’m using a Windows 7 Operating Systems and my PC has a CD drive, first job was to set it up on the bench and to run the CD for the ‘Search Tool’, once this was installed, I powered up the camera and plugged in an Ethernet lead into my router after first removing a device with a conflicting IP of 192.168.1.100.
Using the ‘Search Tool’, discovery of the camera was done within seconds, from here access into the cameras range of menus is possible, the instructions guide you through the setup process which was fairly straightforward, the cameras IP and WiFi enable were the first things I did, refreshing the ‘Search Tool’ now brought up two IP’s one for the Ethernet the other for WiFi.
The image quality is very good, the WiFi is about as good as a chocolate fireguard as it keeps dropping out, and I found it to be totally useless. Plan B now involves running a new Ethernet cable to where the camera is to be mounted, something I didn’t really want to do!
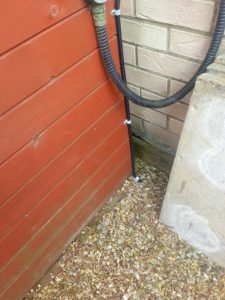
The router is on the other side of the wall to the shed, I ran a Cat5 cable into the shed and then out to the camera using 10mm convoluted tube.
Camera mounted within the old CCTV enclosure.
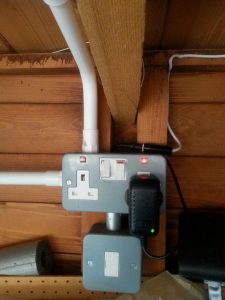
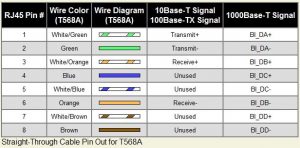
Power for the camera comes from the 12v wall wart plugged in the shed, I used a 2.1mm ‘inline connector’ to plug the output from the power supply to the lead to a junction box, where I have spliced into the Cat 5 cable to allow me to use the unused conductors to double up and take power to the camera.
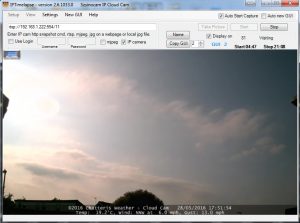
The software I use to get image to my website is iptimelapse, finding the streaming address was a nightmare and took far longer than I thought, it was only after I came across a thread in a CCTV forum that I had success, initially I used VLC Media Player to find the working camera stream, but once I knew it was possible, getting it working on iptimelapse was easy.
The program also adds weather conditions to the image which is a great feature.
iptimelape takes a snapshot from the camera, in my case every 5 minutes from Sunrise until Sunset, after which time the program goes into ‘idle’ mode until it’s time to start, the timing is automatically configured from my long and lat coordinates.
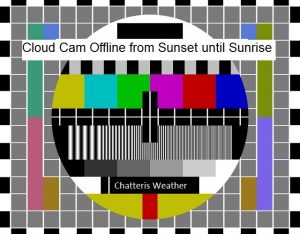
Rather than have a static image of the last image on Chatteris Weather, I found a script on WX Forum which allows a new image to be displayed when a condition is met, I have used this to put a testcard on the site when no fresh image is being sent.
My web site already had a Clouds page, so I thought the best place for a Cloud Cam was on this page.
Hope you enjoy the images.

