Updated 7 July 2023
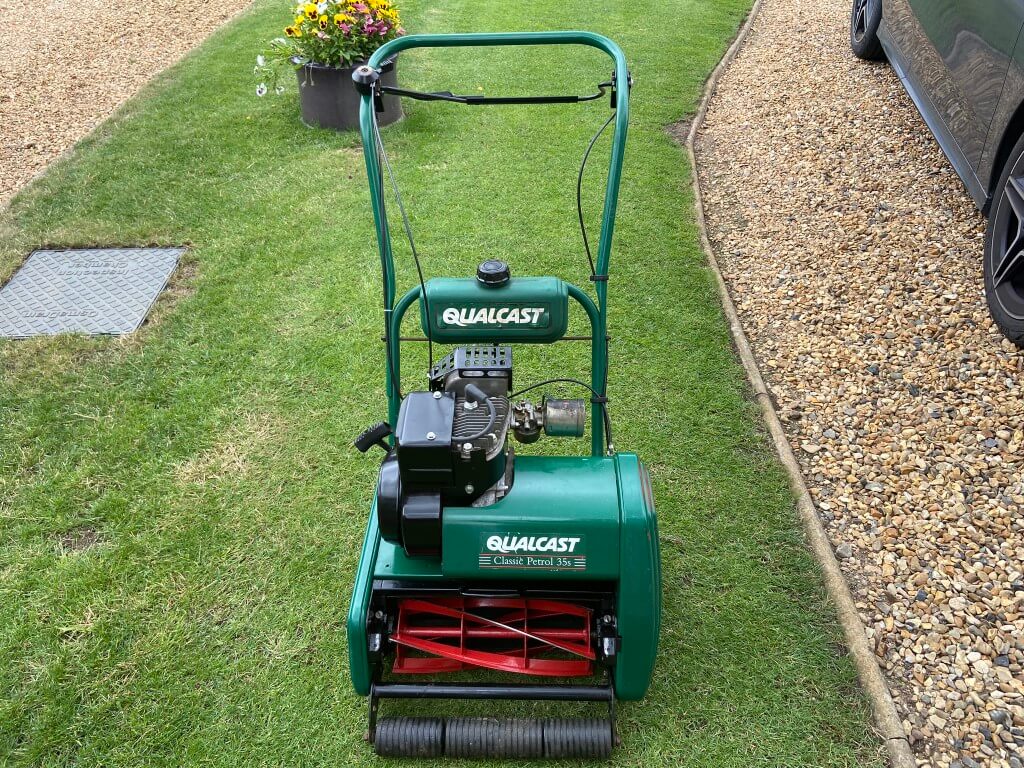
I bought a previously used Qualcast Classic 35s in 2021 for £40 complete with Scarifier Cartridge as a project and after replacing serviceable items and sharpening the blade, the mower performs really well, the problem was getting hold of a replacement throttle cable for my 1999, Type F016C80961 mower.
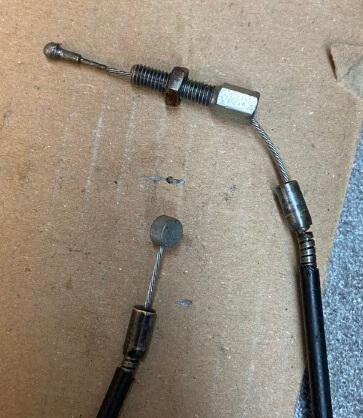
The outer cable is damaged at each end and the inner cable is ‘notchy’ due to kinks, so I set about trying to find a replacement and constantly drew a blank.
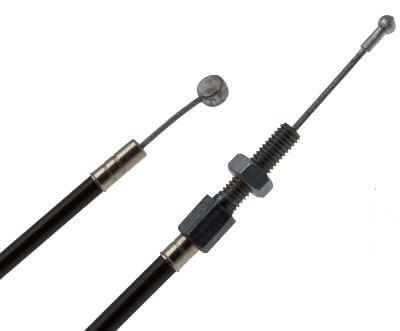
I did buy a new cable off eBay on the off chance it would fit my make of Qualcast mower, but the outer was too long and although it had the correct ends, the lengths of the inner cables weren’t long enough to work.
After watching YouTube for ideas, I decided to make a new throttle cable.
How to make new cable
The cable I’m going to modify was described on eBay as ‘Throttle cable fits some Qualcast Suffolk Colt and Punch Mowers’, the cable cost £6.58 and was 910mm in length.
Using a Dremel with the cutting disk I reduced the 910mm cable by 230mm to 680mm after first removing the inner cable.
I did buy some 4mm plastic cable ends for the freshly shortened cable, but they were to wide to fit inside the throttle levers recess, so I prised off the chrome cable ferrule from the off-cut and used the shank of a 4mm drill bit as a former to get it back in shape as it was misshaped after prising and made do with that on the new cable, (you can easily get 5mm metal ferrules, but 4mm ones are really hard to get hold off for some reason).
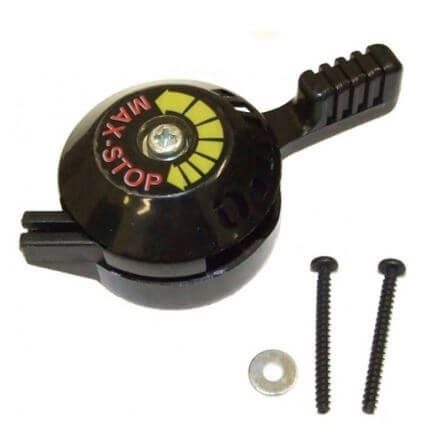
Now the outer is cut to length, I threaded the cable back in the inner, not forgetting the adjuster for the carburetor end, the inner cable was then pulled all the way until it stops, the inner was then marked 60mm from the end of the ferrule.
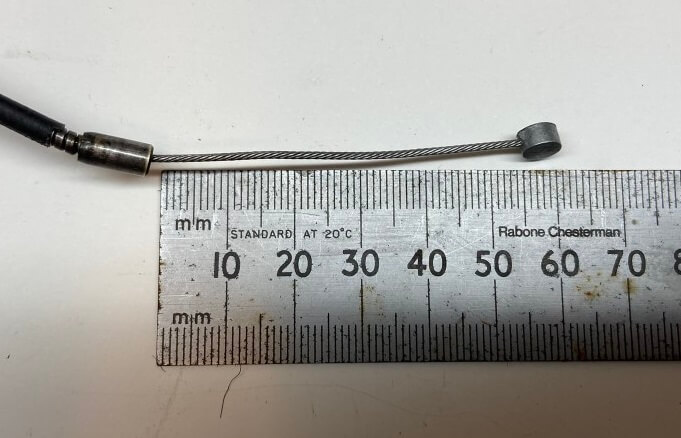
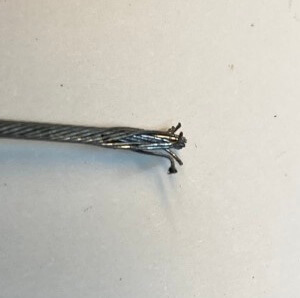
Again the Dremel was used to cut the inner cable and the individual wires were ‘splayed’ slightly to allow greater surface area when the lead is added to the mold.
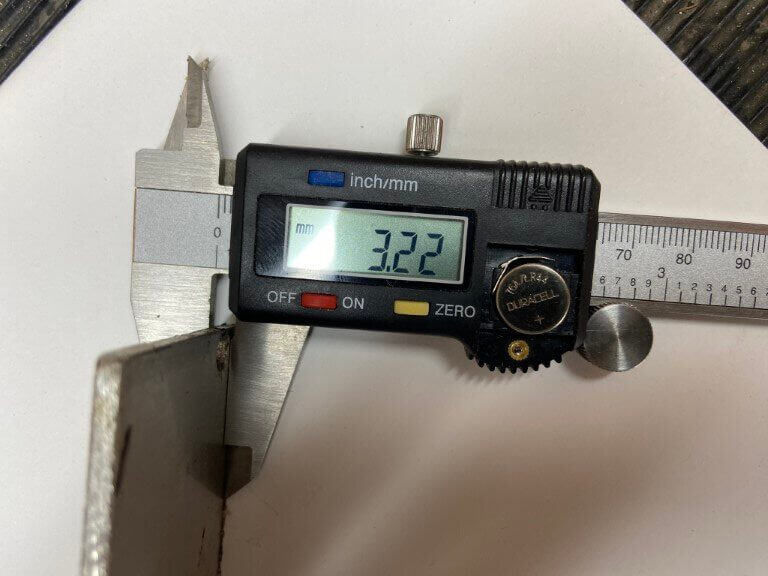
Next step was to make a casting mold for the throttle lever, the cable nipple has a diameter of 6mm and a thickness of 3.6mm, in my scrap box I luckily had an off-cut of aluminium which happened to be 3.22mm thick which was fine as its the diameter which is important rather than the thickness of the nipple.
A 6mm drill for the hole ensuring that it was deburred reducing the chance of the lead sticking to the mold.
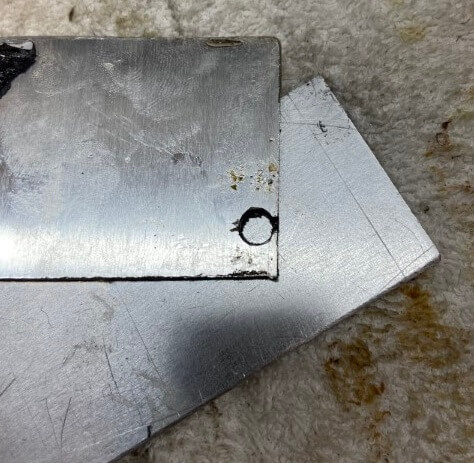
Using a Junior Hacksaw I made a cut wide enough for the cable and half way through the aluminium, this is where the splayed cable will sit for the casting process.
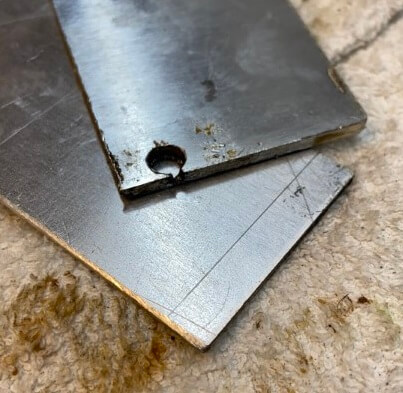
The cable is put in the mold and the two pieces of aluminium are then clamped together with mole grips.
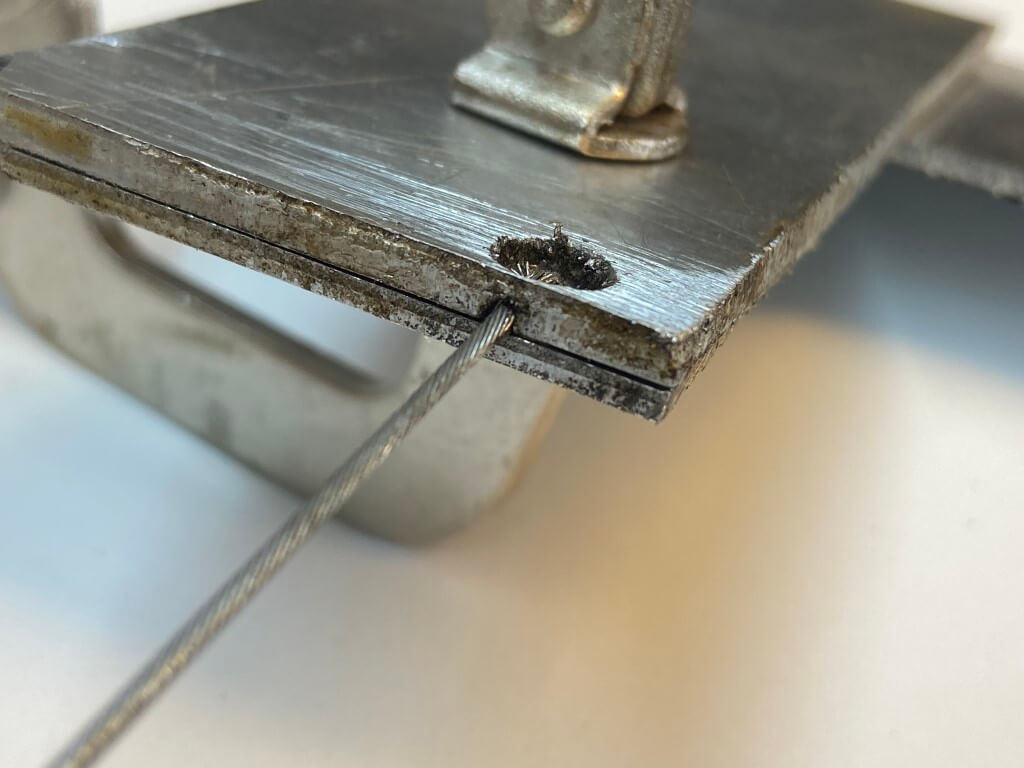
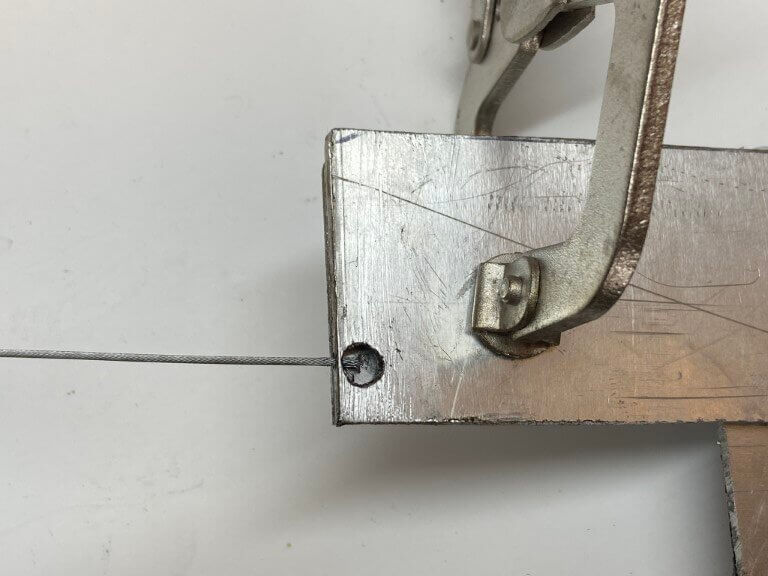
With the cable degreased with ‘White Spirits’, the jig was fixed to the vice and the mold then fully filled with flux, (soldering paste).
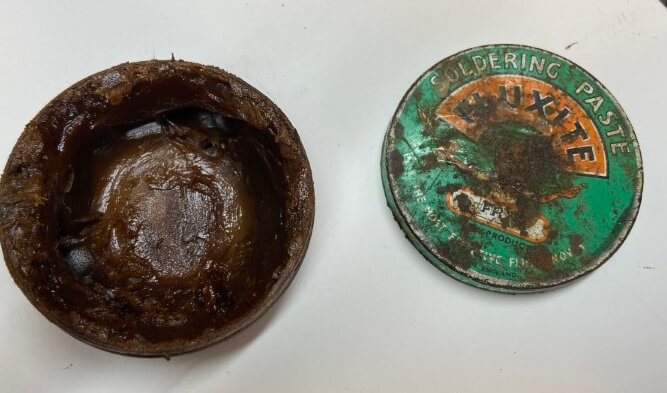
To support the cable in the right position and to keep it level, I used an articulating bench helping hand tool.
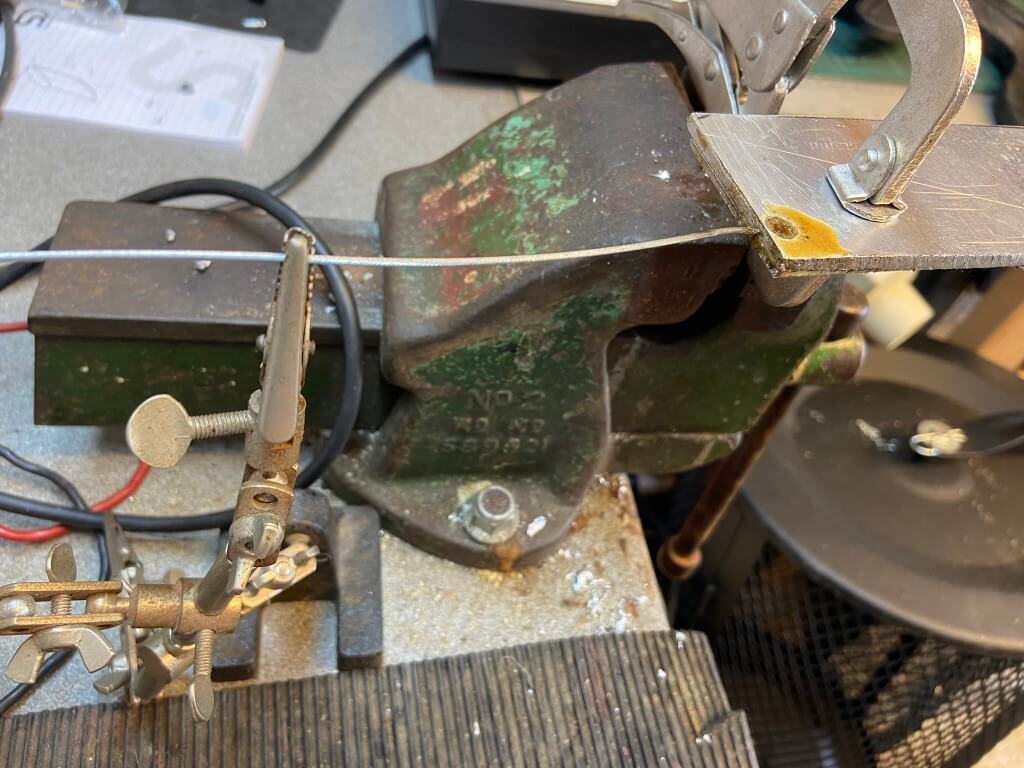
The casting lead used was for holding plants down in an aquarium and readily available online from £3.99 per pack.

Using a gentle heat to the mold, I melted the lead stick, (not solder), into the mold and let it set when full.
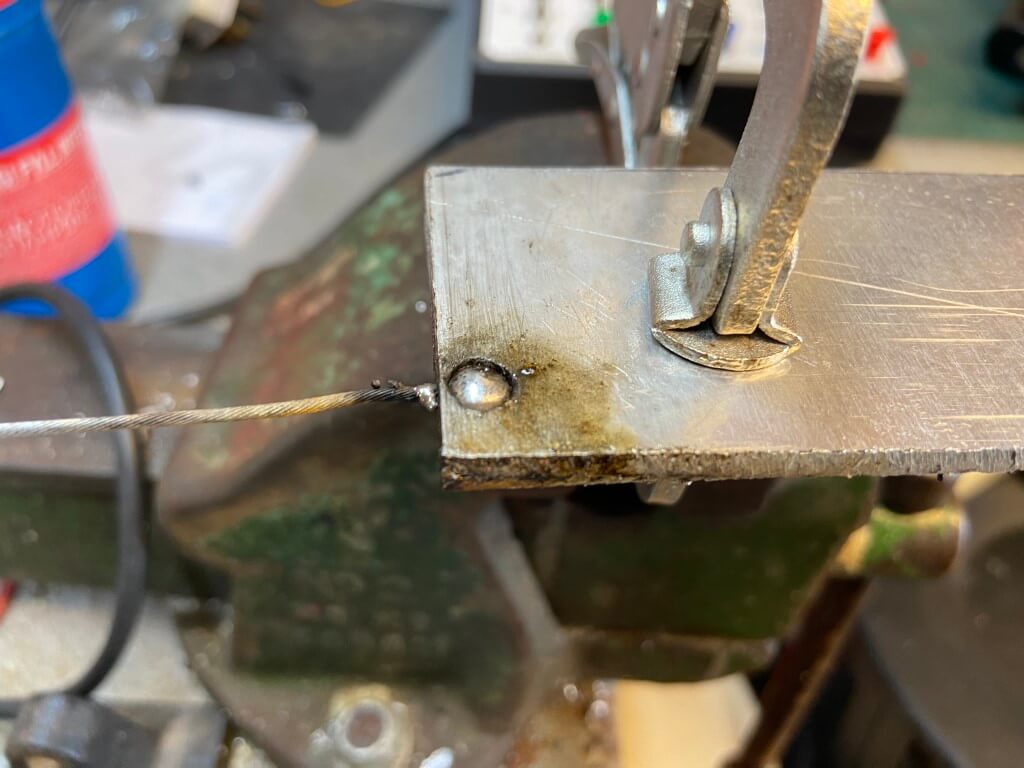
After natural cooling, I unclamping the aluminium sheets which formed the mold and the cable nipple came away easily, and I’m very happy with how it turned out.
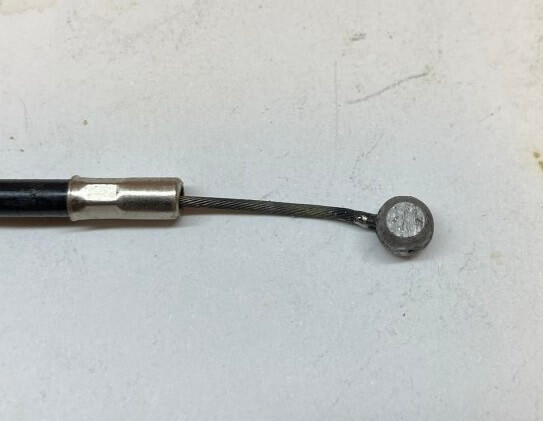
Installing the new cable in the mower, everything works as expected and if you are stuck for a replacement, give me a shout and I’ll help if I can.
Manuals
I’ve added some information on my model of Qualcast mower which you might find of use, I’ve scanned some so apologies for any handwritten notes on them.

