Updated 16 October 2024
Link to original Davis Fan Motor change
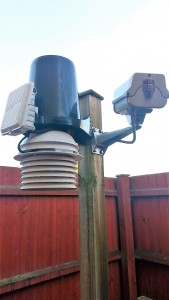
When the original Davis FARS motor failed I installed a new motor and kept back some spare motors, waiting for the inevitable motor failure to occur, reading online, changing from the Davis Fan to a PC varient made a lot of sense and not only is the life of motor excellent, but it is possible to monitor the motors output for operation.
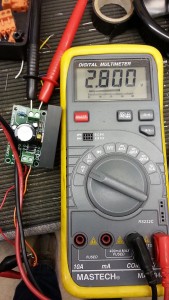
I was interested to know the existing Davis fans air flow, mine was running at 2.4vDC and showed 9.7m/s:

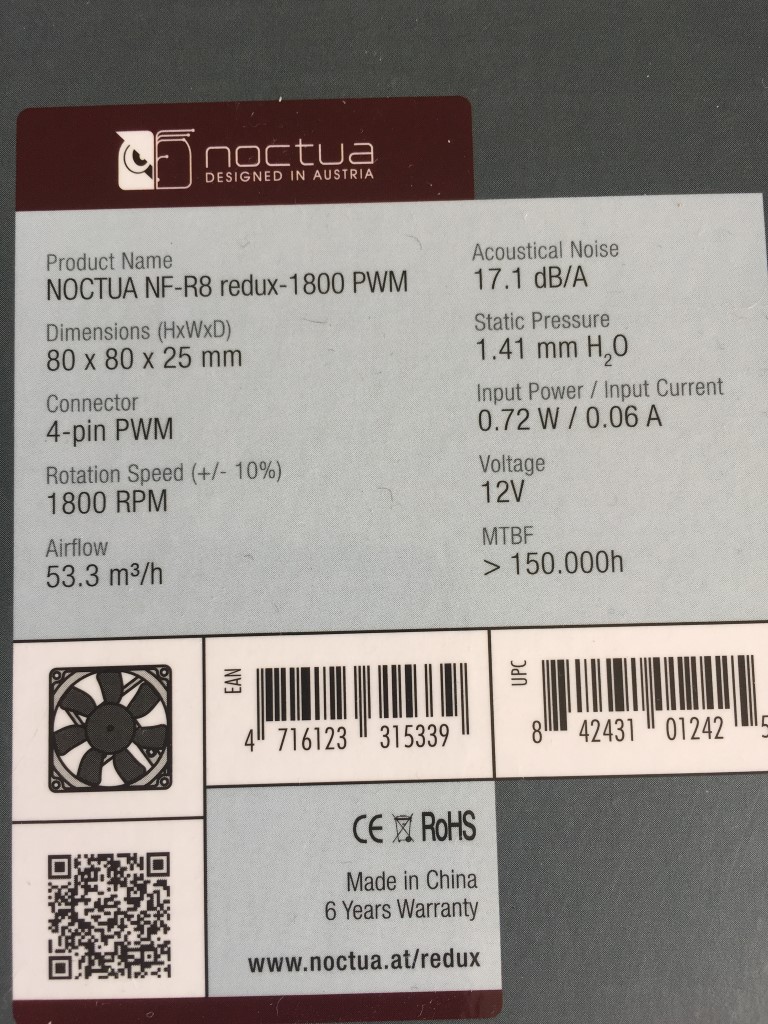
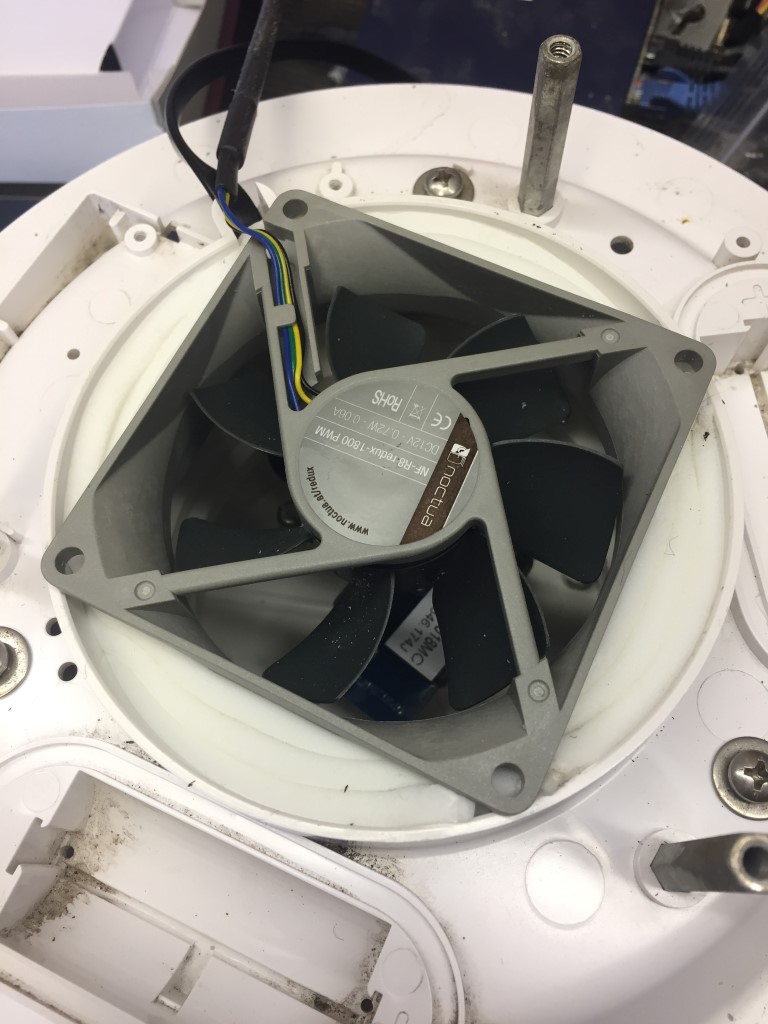
The PC fan I bought was a Noctura NF-R8 redux -1800 PWM for £9.99 of eBay.
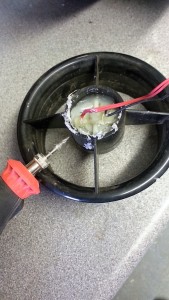
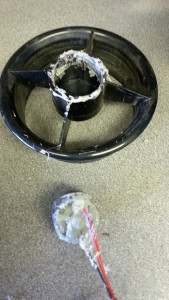
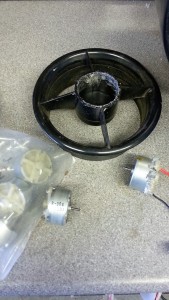
With the David FARS removed, the existing fan assembly slides out of the housing as a complete fan & surround, the hole left will take the 80 x 80mm fan with only a very minor filing of the fan case body to make it slide into the body of the FARS.
No modifications are made to the existing FARS body allowing reversion back to the existing fan if I wish (can’t think why, but you never know!).
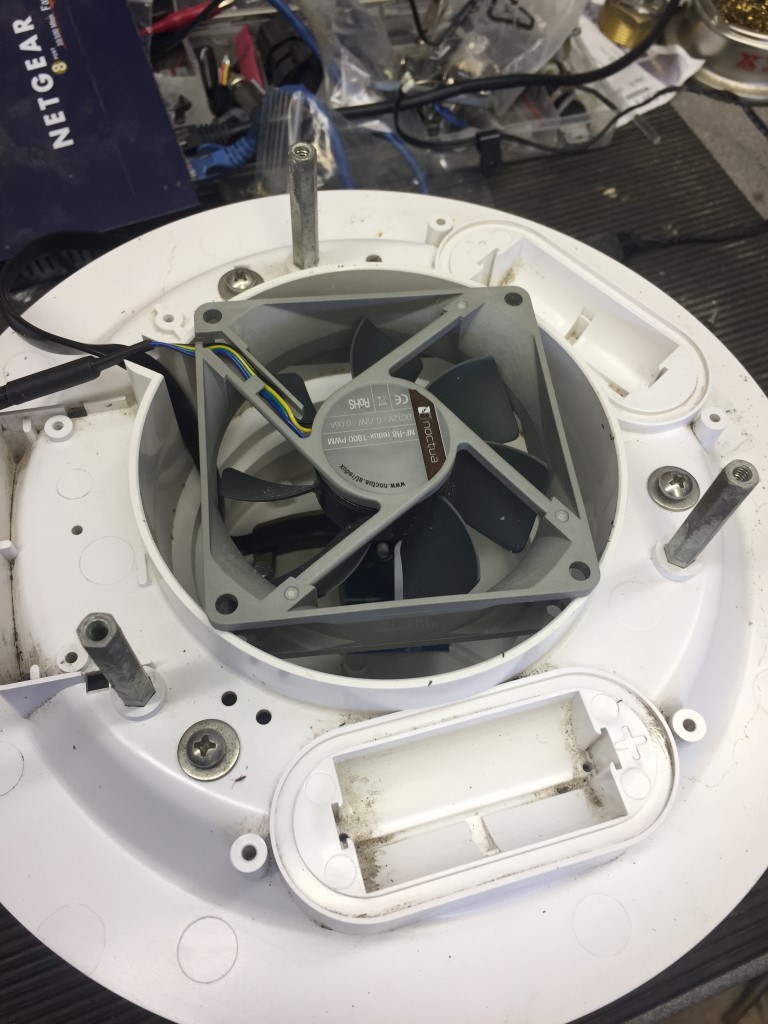
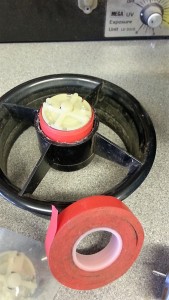
To form a seal around the gaps, I used self adhesive door/window strip seal.
 The finished fan after the seal is applied and checking that the fan is sucking, rather than blowing:
The oringinal fan ran on 2.4v, I replaced the voltage regulators fixed value resistor for the correct one to give 11.54vDC output and this feeds the motor and the motor monitoring Tacho.
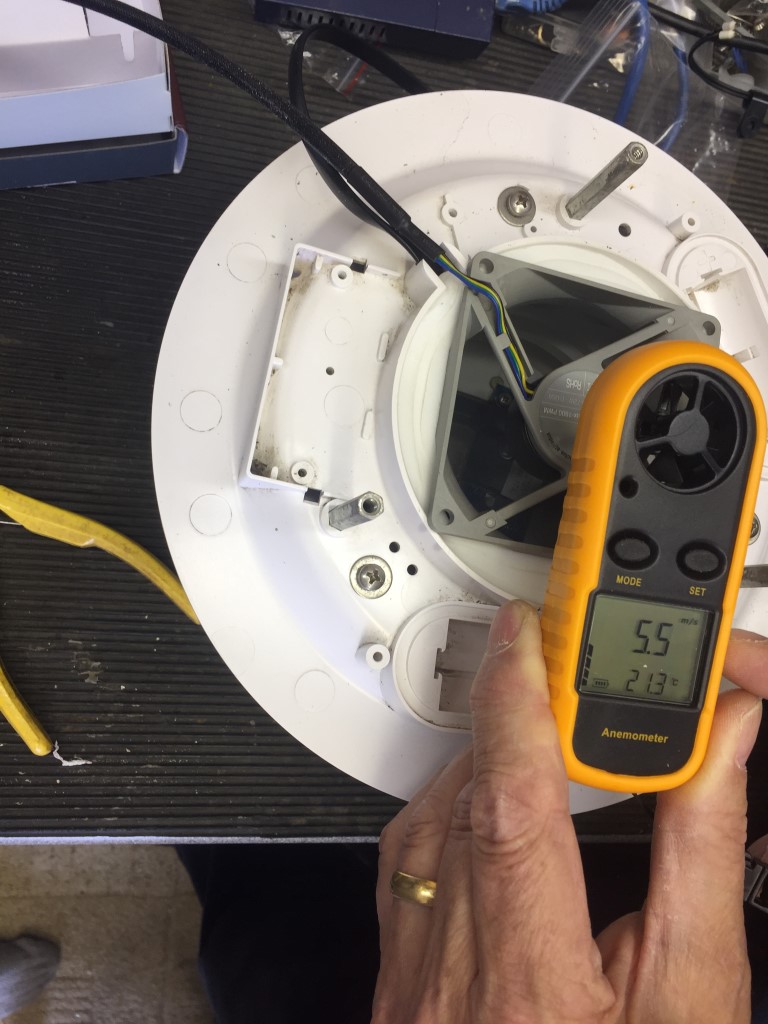
The air flow of the PC fan when installed and connected was 5.5m/s, this is less than the original davis fan, but this is still better than static air within the sensing chamber.
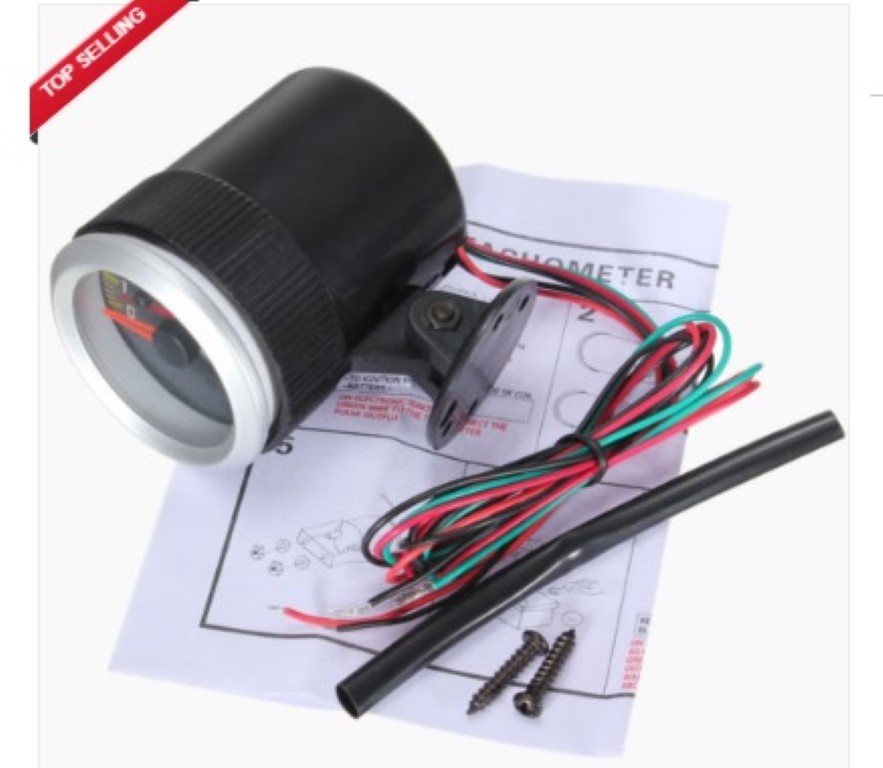
The Davis weather station I have is the wired version, and I used Cat5e cable rather than the supplied 4 core cable from the ISS to the console, using the Cat5e unused cores, I fed the supply voltage to the fan and the Tacho pulse into the house where they are connected to a 52mm (2″) counter tachometer guage RPM, this was bought off eBay for £6.70 + £1.69 postage.
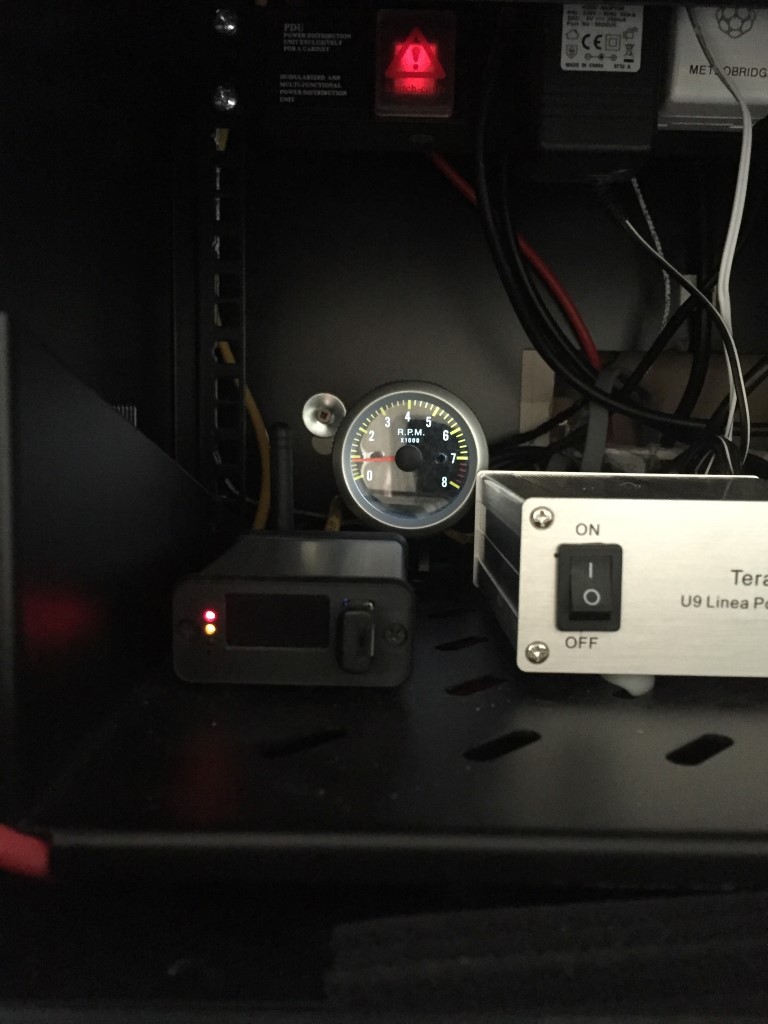
Tacho installed in the equipment cabinet:
The PC fan connections are:
- Black – Negative 12v
- Yellow – Positive 12v
- Green – Tacho Pulse
- Blue – PWM (Not Used)
The Tacho is set for a 4 cyclinder engine using a switch on the back of the unit, with the fan running the backlit RPM display is showing just under 1000RPM (reading slightly low due to voltage drop introducd by the distance from the ISS to the end point), to the left of the Tacho is my Meteobridge Pro weather station server to the internet.
The motor is guaranteed for 6 years, replacement will be very easy and I’m able to remotley monitor that the fan is functioning, all for less than £20.
Update
16 September 2018, after 14 months continuous use, the motor failed, not even close to 6 years!!
I wrote to Noctua who are based in Austria and after asking me to perform some basic fault finding and requesting the fans data markings, agreed to send me a replacement fan, I in return was asked to send then a picture of the faulty fan with some of the blades broken off when the new one arrives.
While this correspondence was going on I bought a new fan off eBay for £12.50 which was installed on 22 Sept 18.
Update 2
12 April 2020, whilst we are in virus lockdown I thought I’d clean and service the weather station and I noticed the fan had stopped working, so replaced it with the one sent to me by Noctura a couple of years ago, looks like the average continuous running life is two years for these fans.
Update 3
30 March 2021, Nocura fan gave up, so much for a 6 year warranty, decided to go with a cheap and cheerful PC fan off eBay for £5.83.
Update 4
16 October 2024, Reverted back to a standard unmonitored 12vDC PC fan (80 x 80 x 25mm) – Amazon £8.98.

