Updated 24 December 2024

Home Assistant is a free Open Source device integration platform enabling a wide range of sensors and automations to make life that bit more smart and enabling data to be displayed in a way that suits you.
I’m a late starter with Home Assistant and after watching loads of YouTube videos’ I bought the bits in February 24.
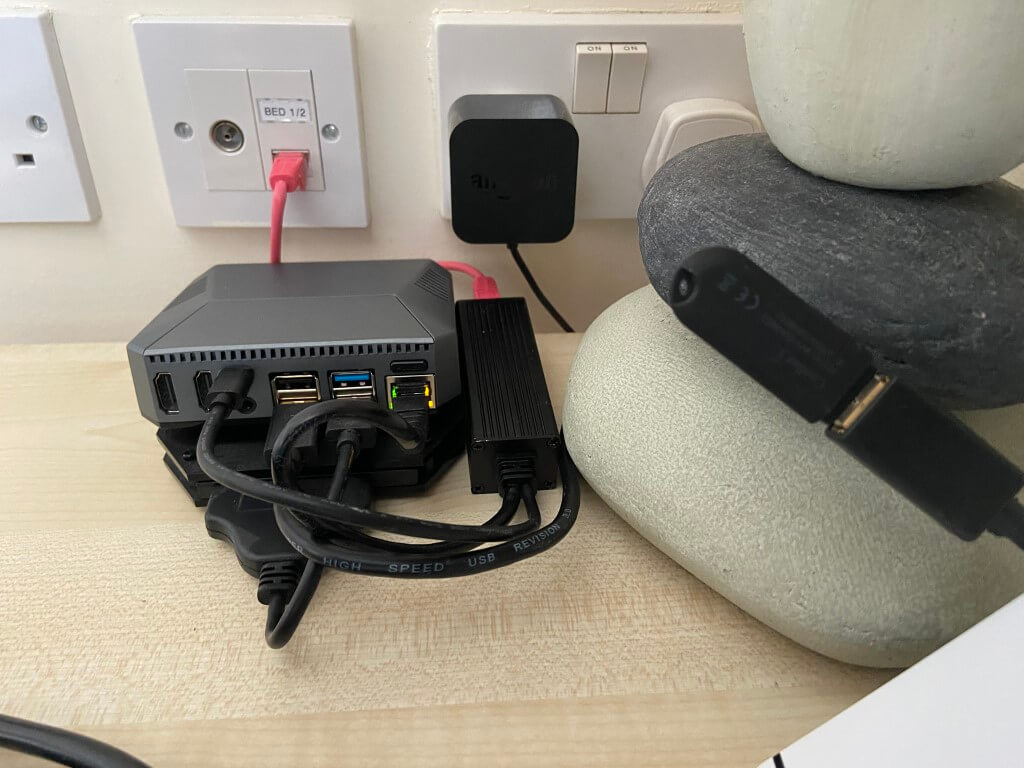
I must make it clear to start with, I’m a novice and not a programmer all my information comes from forums and YouTube.
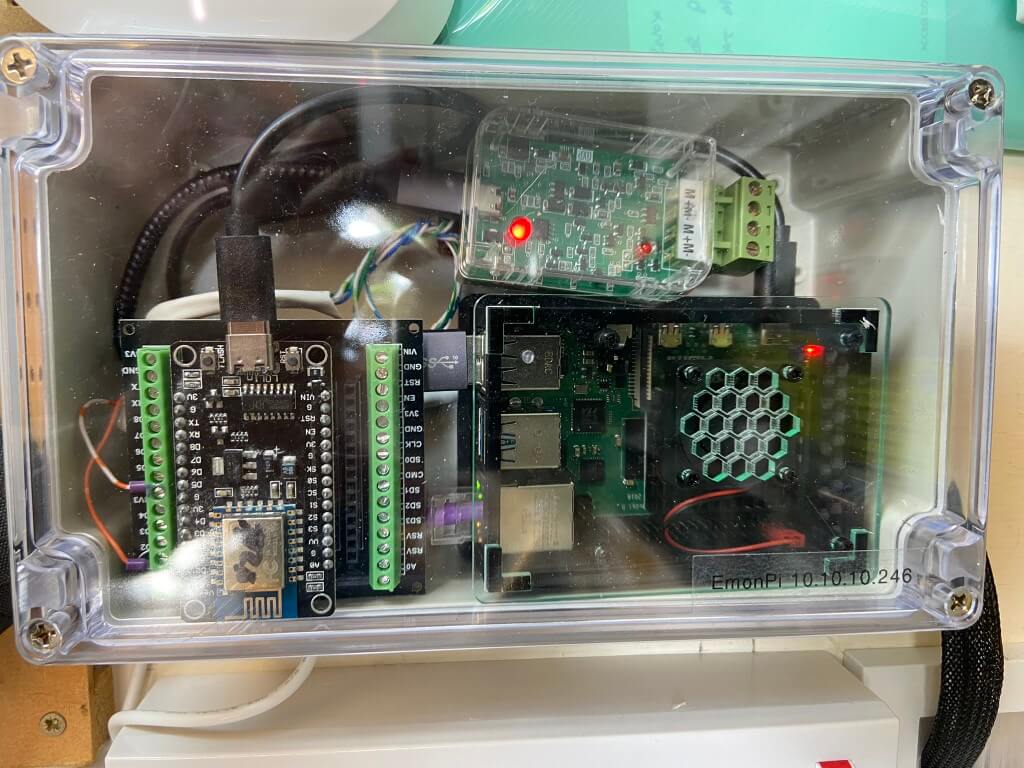
The image above is the brains of Home Assistant and as you can see it is very compact, the enclosure houses a Raspberry Pi4B and fan, beneath the unit is an external SSD Hard Drive.
Home Assistant is powered by a PoE adapter, to the right of the picture you can see a Conbee II Zigbee Gateway used to receive data from wireless devices.
How do I use it?
Home Assistant is so incredibly adaptable, only your imagination is the constraint, my needs are a lot simpler and I wouldn’t know how to do half of the stuff its capable of
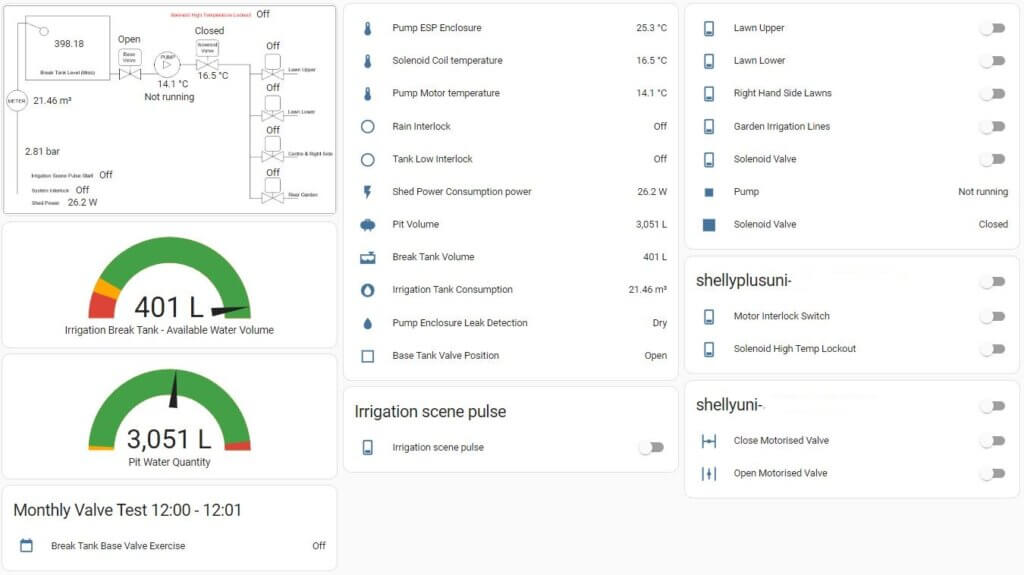
My main use is data collection to allow me to monitor performance after that I have a few alerts set up and linked automations.

The above is a portion of my main dashboard which is accessible anywhere on my home network, it is also available to me via the internet by subscribing to an inexpensive service.
From this one dashboard I can monitor a large number of variables to builds trends and performance management also there are of automations, the obvious one is for Octopus Free Energy, once a period of free energy is known and its duration, I enable the automation and a number of power hungry devices automatically turn on for the duration to make best use of the power, items turned on are the Immersion Heater, tumble dryer and underfloor heating, but it could be anything with a Home Assistant linked device.
A less obvious automation is based on Mains Water Pressure as where I live the water pressure can drop very low, so being alerted to this is very useful.
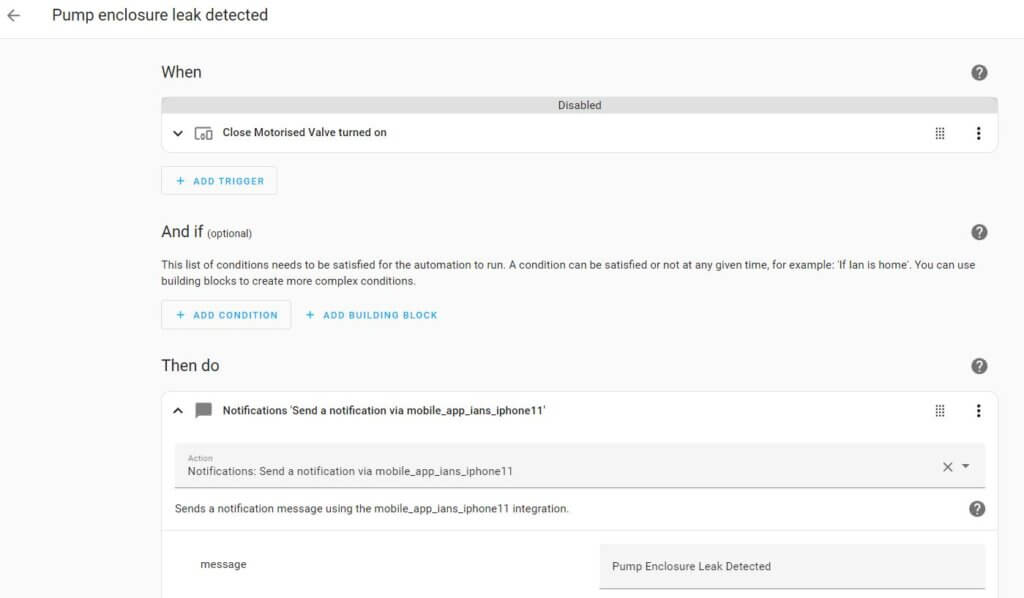
The automation is set so that if the water pressure drops to less than 1 bar for 1 minute, my mobile phone is sent a notification, I also get similar phone notifications if my leak detectors trigger, (Kitchen, Boiler and Irrigation System enclosure).
This is just a small introduction as to what Home Assistant can do, go enjoy!
Disaster!
18 October 2024 – A local underground joint failed causing a 4 hour power outage, on restoration of supply a number of Shelly devices blew there surge protection and rendered them no longer serviceable, (I did try and change the Varistor and fuse link but still U/S).
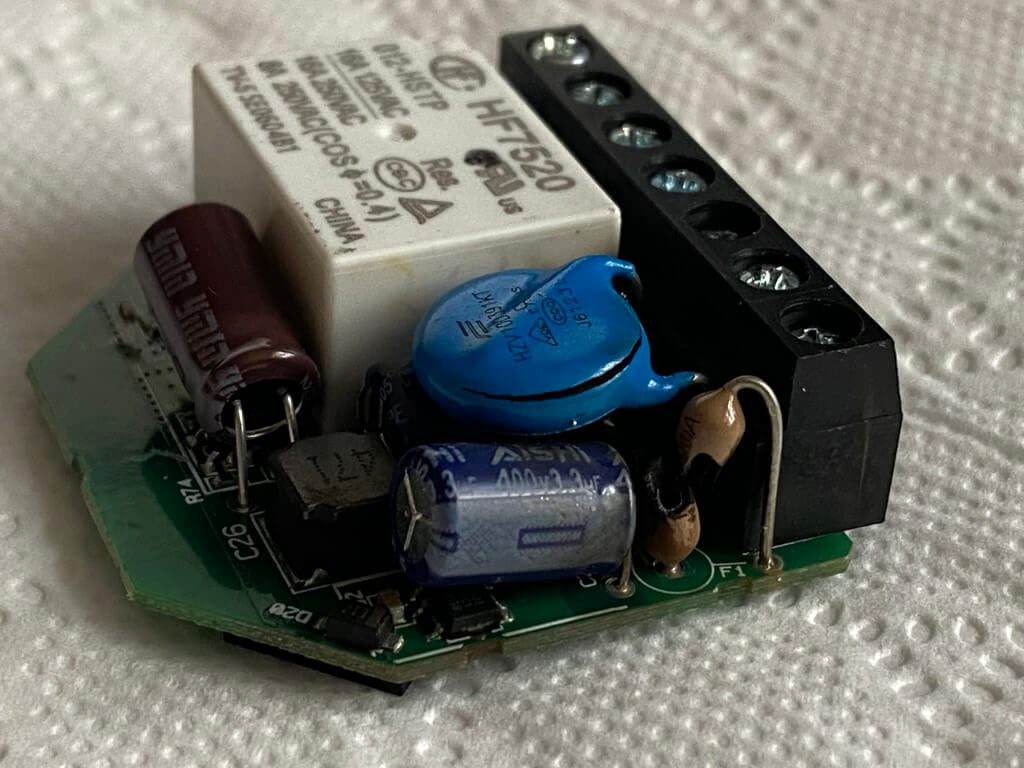
Process now ongoing to replace them and fit RC Snubbers to inductive loads in case this was a cause for at least one of the Shelly’s to fail, the one below was connected to the 1kW pump for my irrigation system, (all connections were tight).
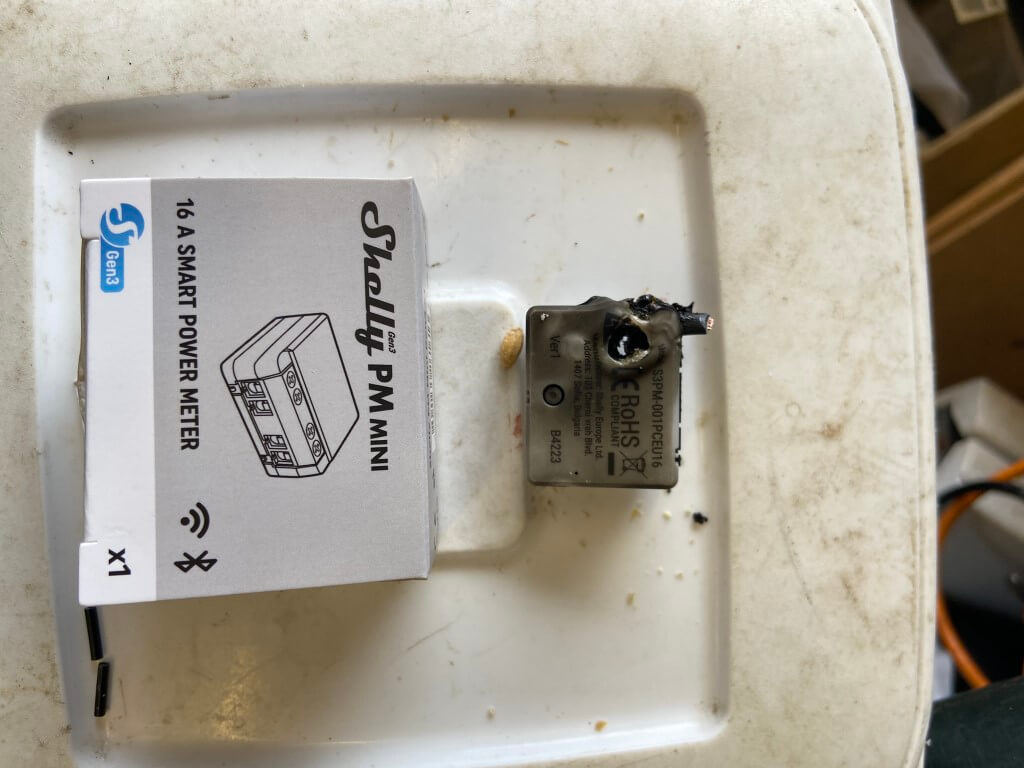
November 2024 – All damaged Shelly devices now replaced, while I was ordering a Shelly EM I bought an additional 50A CT to supplement the CT I already had, however, the new CT channel read really low.
I raised a service ticket with Shelly Support and they were superb, guiding me through the diagnostic process culminating in a free part including postage being sent out to me.
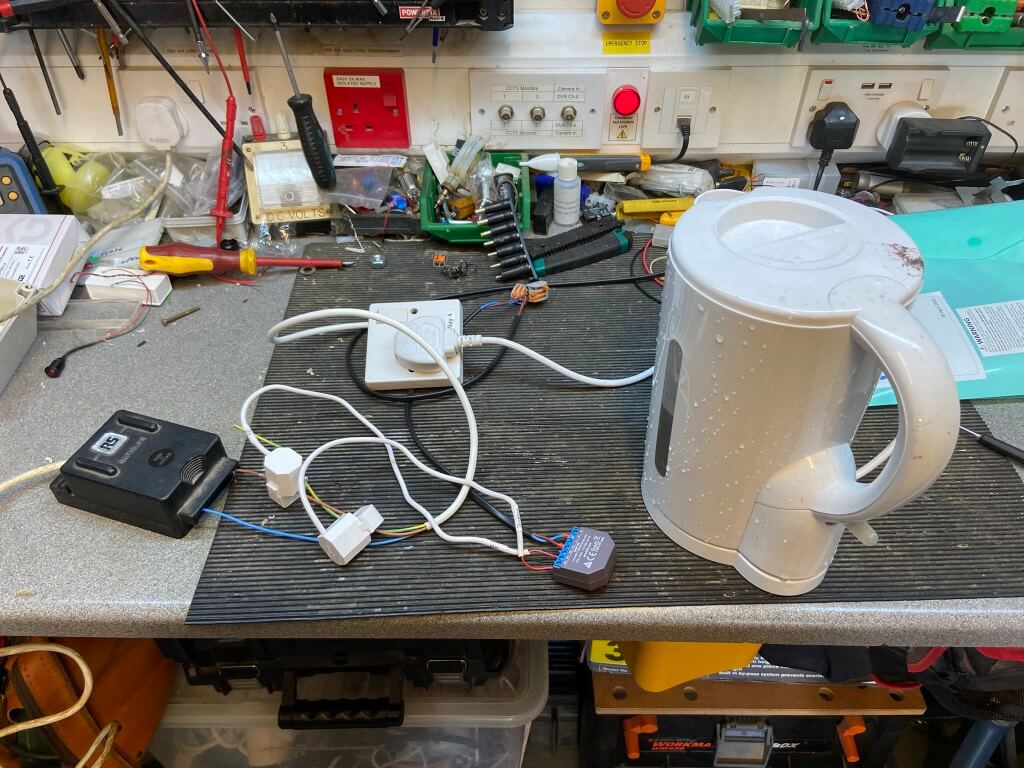
The above rig has both CT’s measuring the same load resistive load of the kettle, the faulty CT was measuring 6.7w whist the other was reading 2.17kW, you guess which was faulty
Pyronix Alarm link to HA via Shelly i4DC
So as not to mislead anyone, this is a simple hardwired interface enabling selected Pyronix Euro46 output states to be displayed on Home Assistant.
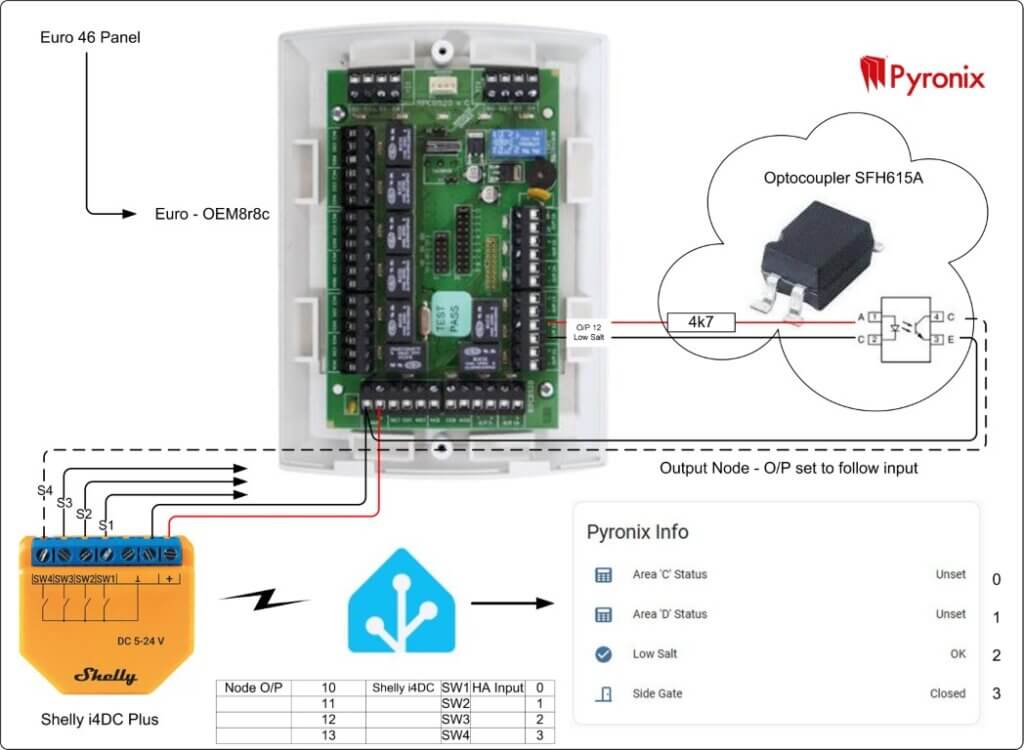
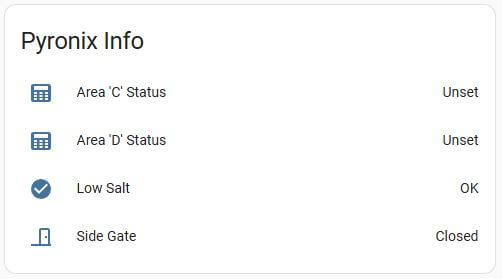
On my home alarm system I have a Euro-OEM8r8c output node which has 8 relay and 8 transistorized outputs, I wanted Home Assistant to display when certain areas of the alarm were set and also the status of my water softeners salt level.
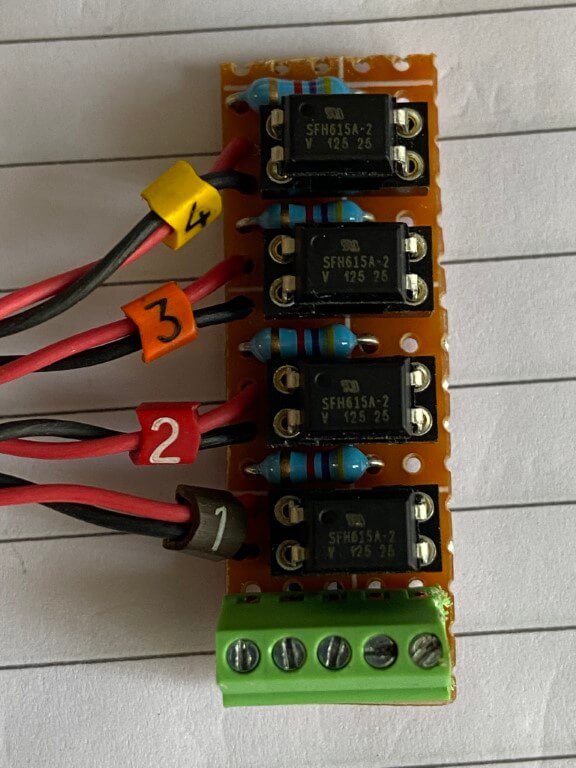
The positive and negative transistorised output on the node both had a voltage on them, therefore I used an Optocoupler to isolate this from the Shelly i4DC.
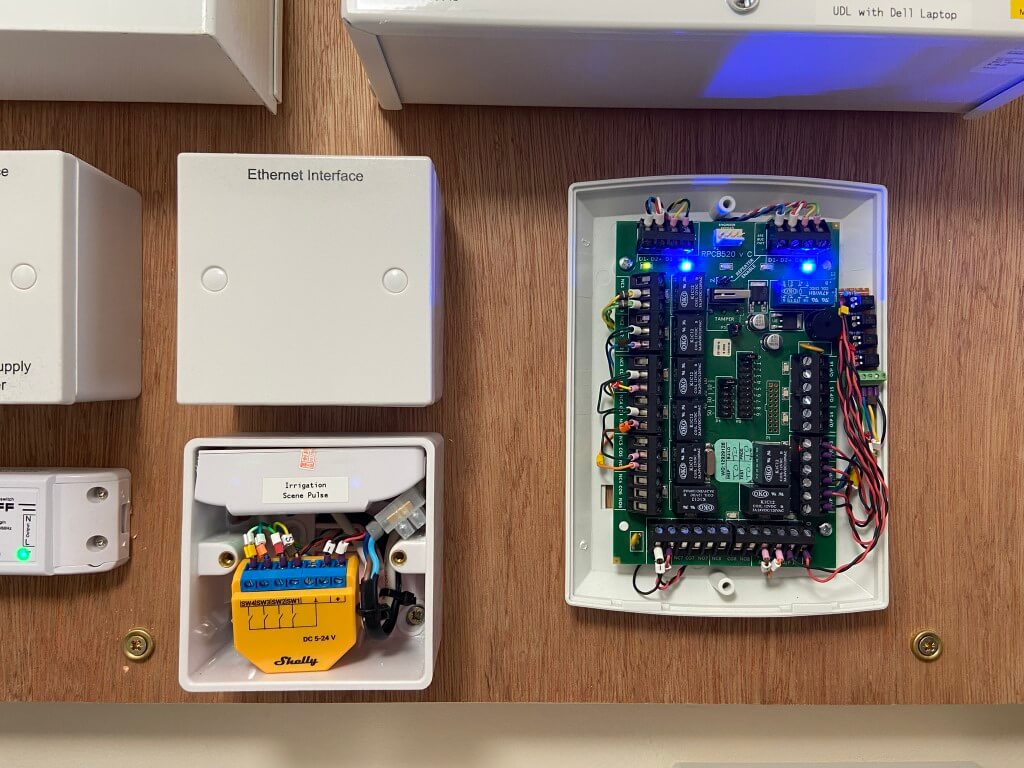
The Shelly i4DC was the perfect addition to allow this interface, I programmed the output nodes with the appropriate ‘Follow me’ trigger and this enabled the switching of the Shelly inputs via the optocoupler.
Change Locked/Unlocked to Set Unset
In Home Assistant Entities, I created a Sensor Template and used the code below, this allows the state description to match the alarms area status of the alarm.

